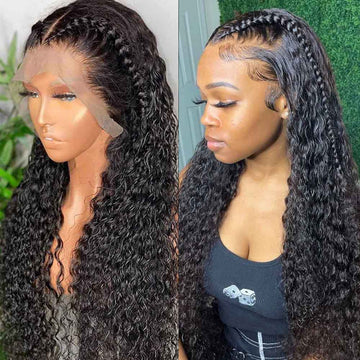
How To Dye Your Bundles At Home
on
Thank God for the internet right? It can be an amazing place. With one quick search, you're dyeing your bundles like a pro. As with most things, the safest way to change up your colour is to go to a professional colourist. But, like all
things, you can DIY your colour at home.
Here are our steps to get you started:
STEP 1: PICK THE RIGHT BUNDLES
If you're ready for the serious upgrade, our virgin human hair bundles, wigs and clip-ins has you covered.
We don't recommend synthetic hair for longevity. But, if you have some old synthetic bundles, they are best coloured with a fabric dye or wax for practice.
STEP 2: KNOW YOUR COLOUR PALETTE
If it's your first-time, we recommend you opt for a subtle shade. You know, play it a little safe, test the waters.
We're still talking about beautiful colours like warm browns and cool highlights. However, we're not going to stop you going all our with platinum highlights and pastel hues, but going from natural brown to these colors in a day is best
achieved with a professional stylist.
STEP 3: GET EVERYTHING YOU NEED AND THEN SOME
Regardless of which dye you choose, make sure you get a lot. You'll need more than enough. While you're at it, make sure to also grab a wide tooth come, mixing bowl and dye brush.
STEP 4: GET TO DYEING
Here's the important part. There are two ways to dye your bundles.
The DIY: Once you've mixed the solution up, lay all your bundles on some trash bags or newspaper. Take your dye brush and work it through the wefts and combing through to detangle as you go along. Leave the hair covered and check back every 15 minutes until you've achieved your perfect color.
The watercolor method: Coloring hair extensions with this water coloring technique is probably the easiest method. The idea is to have hot water but not scolding in a plastic container, take your bottle of color and pour directly in and
use a plastic spoon or whisk to break up all of the chunks of color. After this, get to dunking. Add more color when needed and repeat until you achieve your desired look.
STEP 5: SEAL THE DEAL
You've officially dyed your weave! Now you need to take care of it. Check out our guide on how to make your hair extensions last longer here. To keep the color popping and healthy, deep condition with a color specific conditioner.
